We are now living in an era of great progress and urbanization. Places that are previously remotely populated are now bustling districts with towering skyscrapers and multi-lane expressways.
As more people are adapting to the urban lifestyle, it is imperative that an abundant food source and healthy living can be sustained.
This is why urban farming has become a staple in urban households all around the globe. But what is the difference between traditional and urban farming?
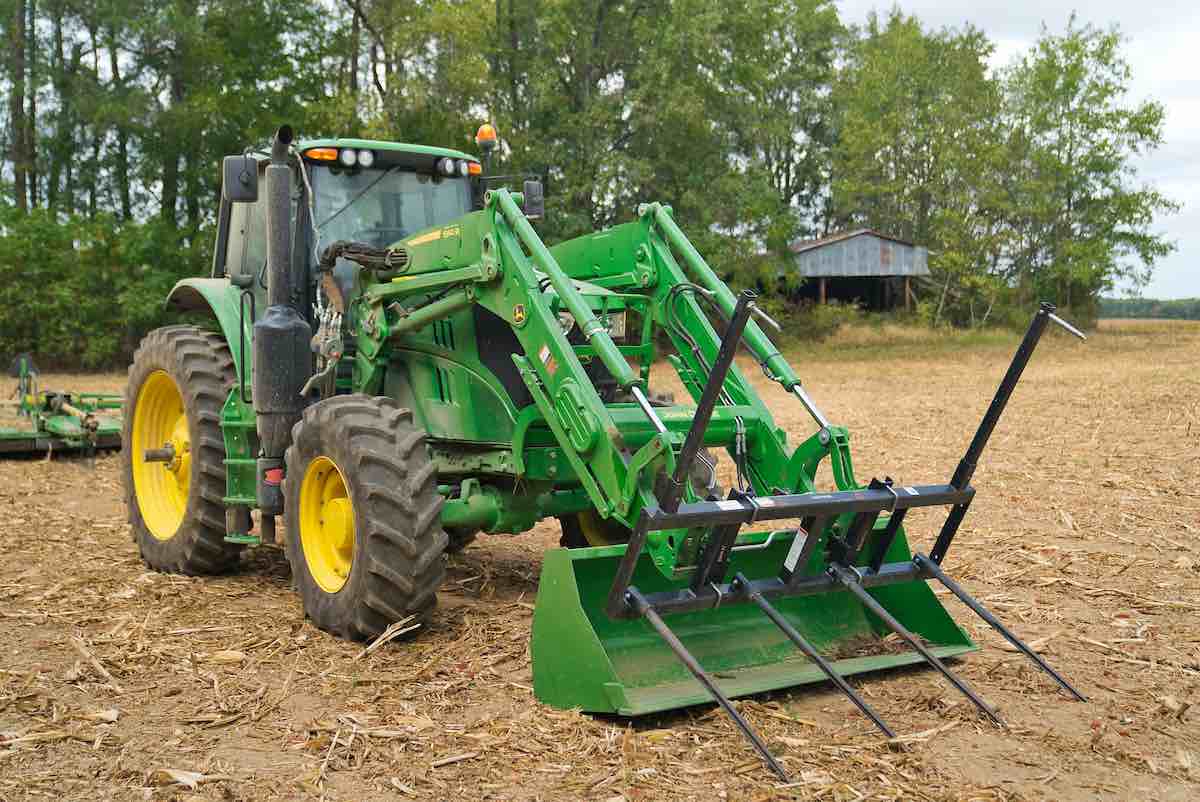
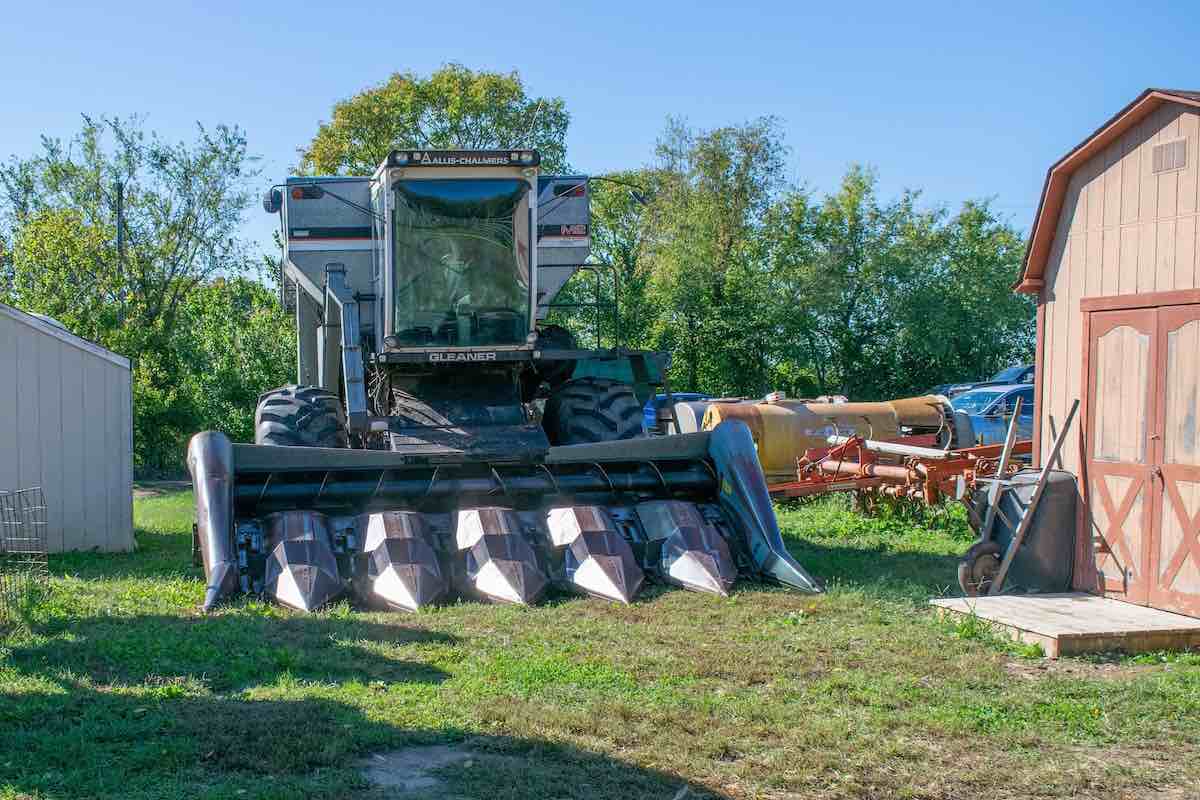
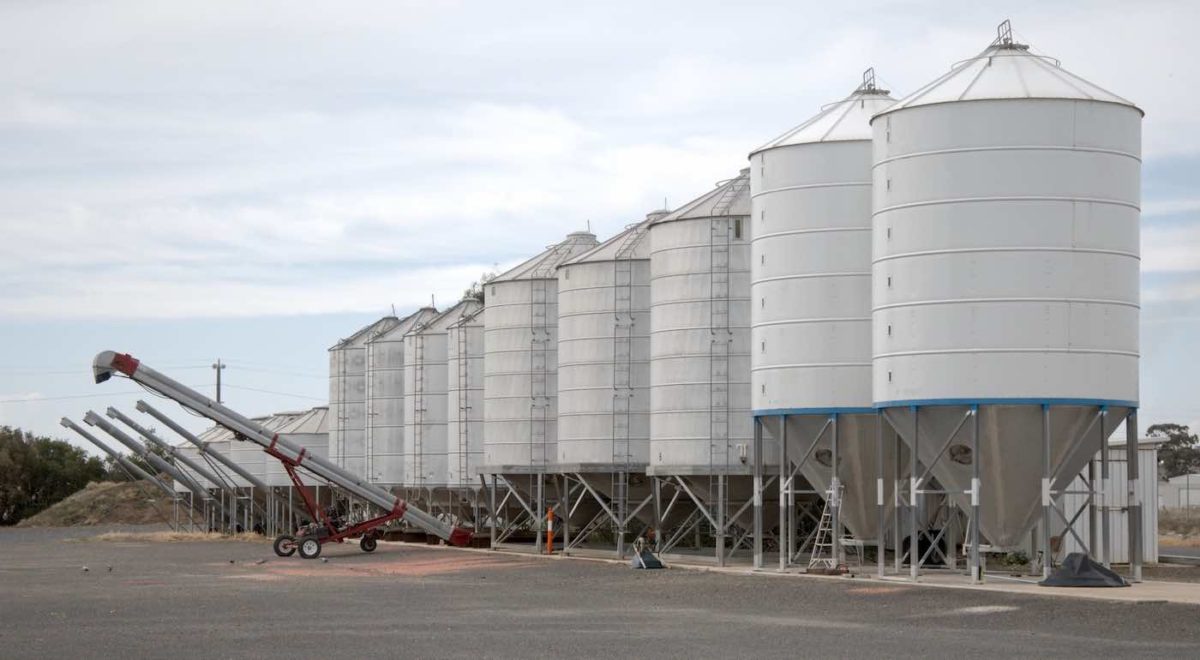
There was a time when the only means of growing food was through large-scale farming. Acres of land are planted with crops and come harvest time, the goods are delivered and distributed to towns and cities.
But as the population grows and more areas become urbanized, alternative means of sourcing food must be formulated.
In the urban setting, there are a lot more factors to consider when sourcing food. There is the matter of limited space, inaccessibility to agricultural districts, carbon footprint, and water scarcity.
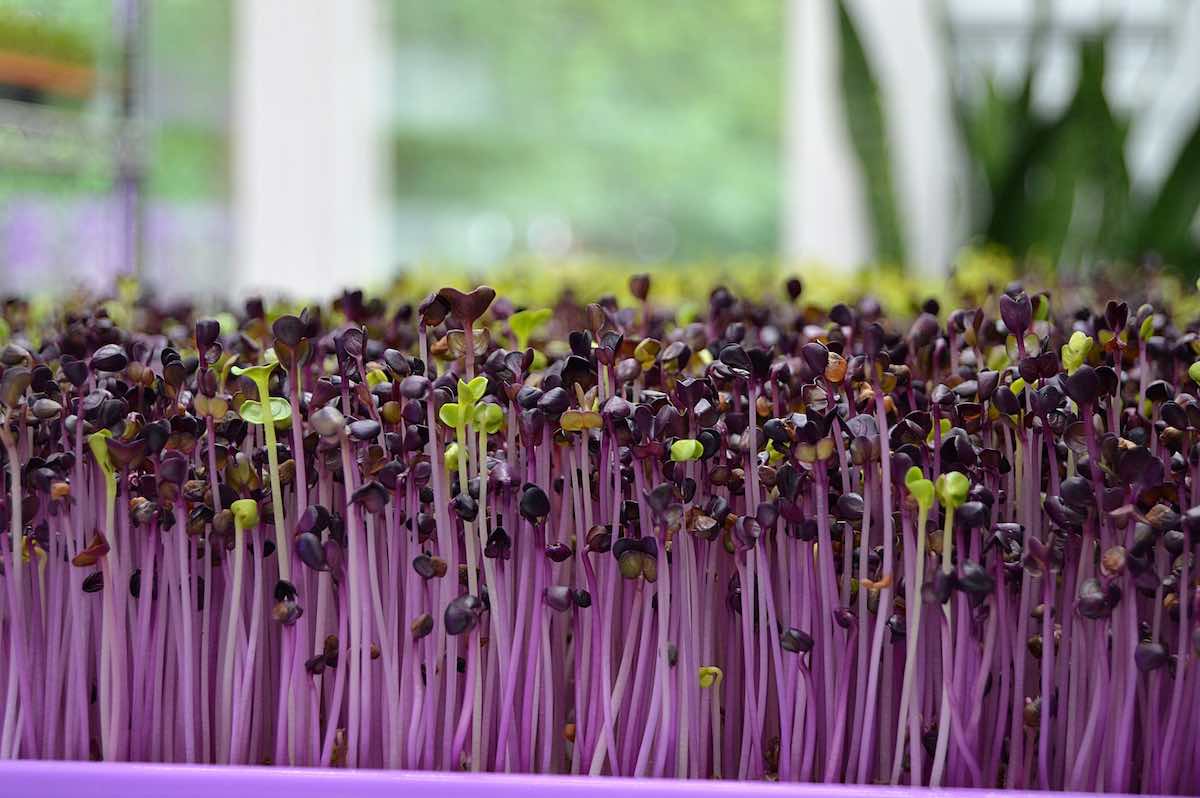
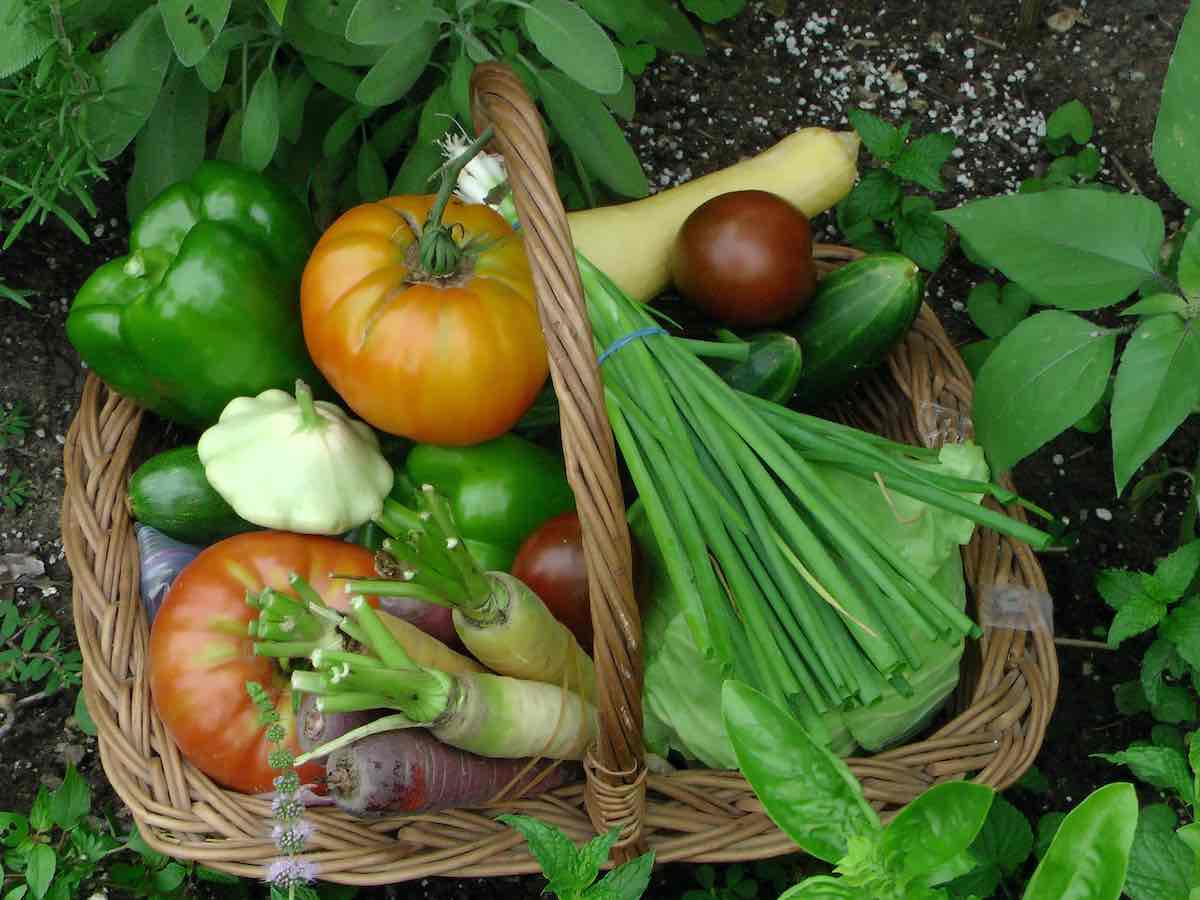
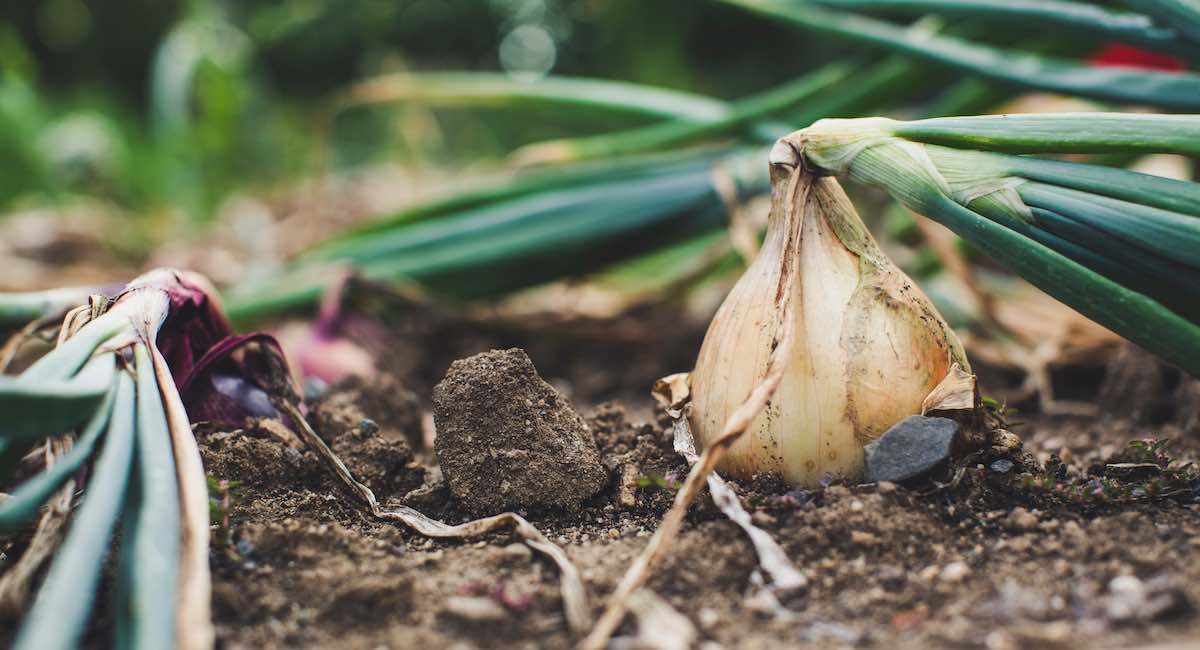
The need for a more sustainable way of producing food has paved the way for urban farming.
Compared to traditional farming, urban farming only requires a very small space, needs smaller quantities of water, and emits fewer greenhouse gasses.