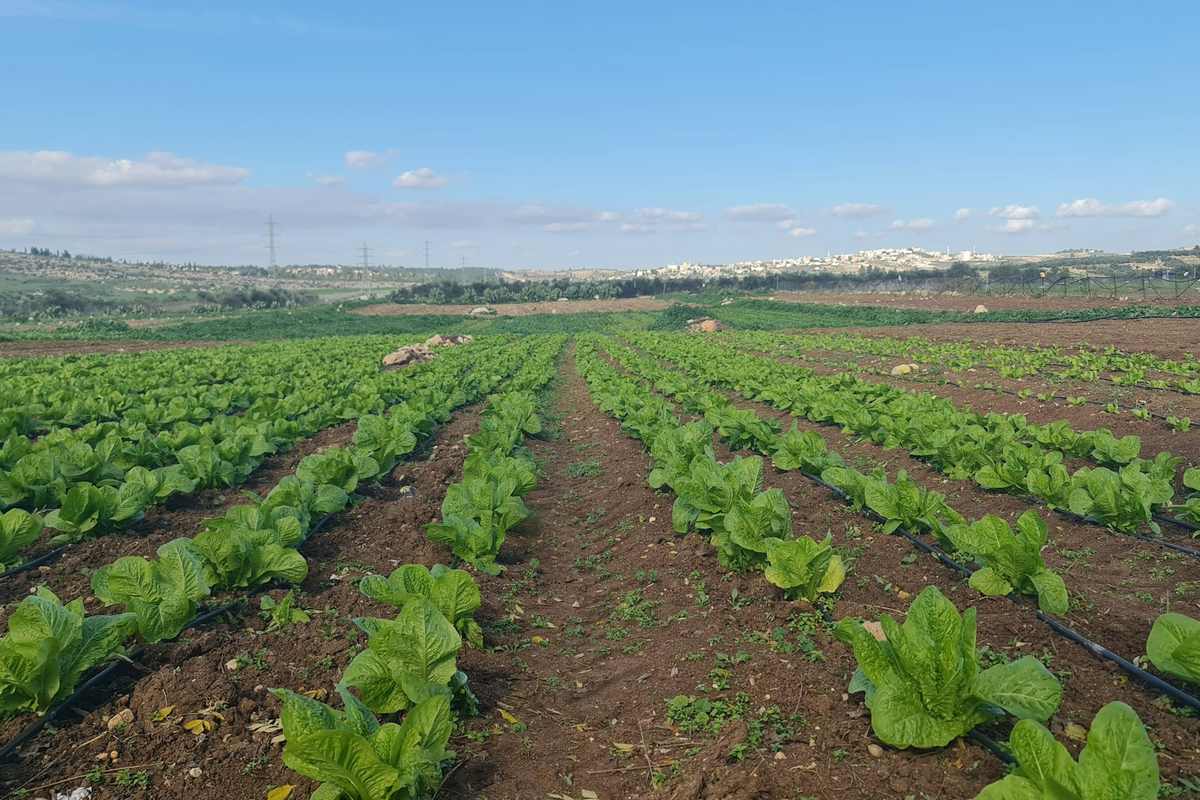
Drip irrigation delivers water slowly and directly to the root zone through a network of tubing and emitters, rather than spraying it across a whole area. That precision is why it reaches water-use efficiency of up to around 90%, against roughly 60 to 75% for most sprinkler systems.
It is also the system most likely to be installed badly. Almost every drip failure traces back to one of three things: no pressure regulator, no filter, or emitters spaced for the wrong soil. This guide covers how the system works and how to get those three right.
How Drip Irrigation Works
Water travels from the source through a filter and a pressure regulator, into a mainline, then into smaller distribution tubing running along each crop row. Emitters, either built into the tubing or punched in where you need them, release water at a controlled rate measured in gallons per hour.
Because the water arrives slowly, soil absorbs it rather than shedding it as runoff. Because it arrives at the root zone rather than overhead, very little is lost to evaporation and the foliage stays dry, which meaningfully reduces fungal disease pressure. It also means the ground between rows stays dry, so you water your crops rather than your weeds.
The Parts of a Drip System
| Component | What it does | Why it matters |
|---|---|---|
| Backflow preventer | Stops irrigation water siphoning back into the supply | Often legally required on potable supplies |
| Filter | Screens grit and sediment out | Emitters clog easily. This is not optional |
| Pressure regulator | Drops supply pressure to a usable level | Household pressure will blow drip fittings apart |
| Mainline tubing | Carries water to the growing area | Usually 1/2 inch poly for small systems |
| Drip line or tape | Distributes water along the row | Tape is cheap and seasonal, line lasts longer |
| Emitters | Release water at a set rate | Sold by flow rate, typically 0.5, 1, 2 or 4 GPH |
| End caps / flush valves | Let you flush the lines out | Sediment collects at line ends and causes clogs |
| Timer | Automates run times | Turns drip from a chore into infrastructure |
Pressure: The Number Most People Get Wrong
This is the single most common cause of a drip system failing on day one. Household and well pressure typically runs somewhere around 40 to 80 PSI. Most drip components are designed to run at roughly 20 to 30 PSI, with 25 PSI a common design point. Connect drip tubing straight to an unregulated supply and fittings blow off, tubing splits, and emitters deliver wildly uneven flow.
Thin-walled drip tape is more sensitive still, and is generally run at a maximum of around 15 PSI. Using a 25 PSI regulator on tape rated for 15 will shorten its life considerably.
Placement matters too: the regulator goes after any timer or valve and before the drip tubing. Most drip regulators are not rated to hold constant pressure against a closed valve, so putting one upstream of a timer will damage it.
Quick Facts: Drip Pressure
- Most drip systems run best at ~20–30 PSI
- 25 PSI is the common design point for standard components
- Thin-walled drip tape usually wants ~15 PSI maximum
- Fit the regulator AFTER the timer or valve, not before it
- A filter belongs upstream of the regulator
Emitter Flow Rates and Spacing
Emitters are rated in gallons per hour, and are often colour-coded by rate, commonly red for 1 GPH, green for 2 GPH and blue for 4 GPH, though this varies by manufacturer. Total system demand is simply the number of emitters multiplied by their rate, which is the figure you check against what your water source can actually supply.
Spacing depends on soil type, and this is where people go wrong more often than with hardware. Water moves outward as well as downward, and how far it spreads sideways depends on texture:
- Sandy soil. Water moves down fast and spreads little. Emitters need to be closer together.
- Loam. Moderate lateral spread. Standard spacings work well.
- Clay. Water spreads widely and drains slowly. Emitters can be further apart, but flow rates should be lower to avoid pooling and runoff.
Standard drip tape typically comes with emitters pre-spaced at around 12 inches. For individually punched emitters, the practical approach is to run the system for a normal cycle then dig a small hole to see how far the wetted area actually spread, and adjust from there. Guessing costs a season; digging one hole costs five minutes.
What Drip Irrigation Is Good For
Drip suits row crops, vegetables, berries, orchards and anything planted in defined lines or discrete plants. It is outstanding in raised beds, where the confined soil volume rewards precise watering, see our guide to building raised garden beds if you are setting those up.
It is a poor fit for broadcast-sown crops, pasture, or lawn, anywhere the plants are not in predictable positions. For those, sprinkler systems remain the practical answer. Our complete guide to farm irrigation systems compares all the major methods side by side.
Maintenance: Clogging Is the Enemy
Almost every long-term drip problem is a clogged emitter. Three habits prevent nearly all of it. Keep the filter clean, checking it far more often than feels necessary in the first season. Flush the lines by opening the end caps at the start and end of each season, and after any work on the system. And if your water is hard or high in iron, expect mineral buildup and plan on periodic acid or chlorine treatment.
Watch for uneven plant growth along a row, it is usually the first visible sign of a partially blocked emitter, well before you would notice by looking at the tubing.
Is Drip Worth It?
For most small farms and market gardens growing in rows, yes, and usually within a season or two. It cuts water use substantially, reduces weed pressure between rows, lowers disease pressure by keeping foliage dry, and once it is on a timer it removes a daily chore during the hottest part of the year.
The upfront cost and the installation afternoon are real, but the components are inexpensive and modular, and a system extends easily as you plant more ground. For a simpler and cheaper starting point on a small bed, a soaker hose does a related job with far less setup.
Water passes through a filter and pressure regulator into tubing running along each crop row, where emitters release it slowly at the root zone. Because it arrives slowly and below the foliage, very little is lost to runoff or evaporation.
Most systems run best at roughly 20 to 30 PSI, with 25 PSI a common design point. Thin-walled drip tape usually wants a maximum of about 15 PSI. Household pressure of 40 to 80 PSI will damage drip components without a regulator.
Yes, both. Unregulated pressure blows fittings apart and causes uneven flow, and unfiltered water clogs emitters. They are the two cheapest components in the system and the two whose absence causes the most failures.
It depends on soil. Water spreads little sideways in sand so emitters go closer together, spreads widely in clay so they can go further apart. Drip tape is commonly pre-spaced at 12 inches. Run the system once and dig a small hole to see the actual wetted area before committing.
Drip reaches water-use efficiency of up to around 90%, compared with roughly 60 to 75% for most sprinkler systems, because it avoids evaporation, wind drift and runoff.
Not effectively. Drip suits plants in known positions, rows, beds, orchards and individual plants. Broadcast plantings like lawn and pasture need sprinkler coverage instead.