Composting for beginners sounds more complicated than it actually is. At its core, you’re just piling up the right mix of “browns” and “greens,” giving it some air and moisture, and letting nature do the rest. The tricky part is usually the details — what ratio to use, how often to turn it, and what to do when the pile starts to smell.
This guide walks through how to start composting the traditional, outdoor way, from your first pile to your first batch of finished compost. If you’re short on outdoor space or want a faster, odor-free indoor method instead, our bokashi composting guide covers a fermentation-based alternative that works well on a balcony or under a kitchen sink.
Browns vs Greens: The Two Ingredients of Compost
Every compost pile is built from two broad categories of material.
Greens are nitrogen-rich materials: fresh grass clippings, vegetable and fruit scraps, coffee grounds, and fresh garden trimmings. They’re usually moist and break down quickly, but on their own they turn into a smelly, slimy mess.
Browns are carbon-rich materials: dried leaves, straw, shredded cardboard, sawdust, and small twigs. They’re dry, break down slowly, and provide the structure that keeps a pile from collapsing into a soggy heap.
Neither one composts well alone — you need both, in roughly the right proportion, for a pile that breaks down efficiently without stinking up the yard.
Getting Your Carbon-to-Nitrogen (C:N) Ratio Right
The ratio of browns to greens is usually described in terms of carbon to nitrogen, or C:N. You don’t need to weigh anything or run the numbers precisely — a good rule of thumb for beginners is roughly 2 to 3 parts browns for every 1 part greens, measured by volume.
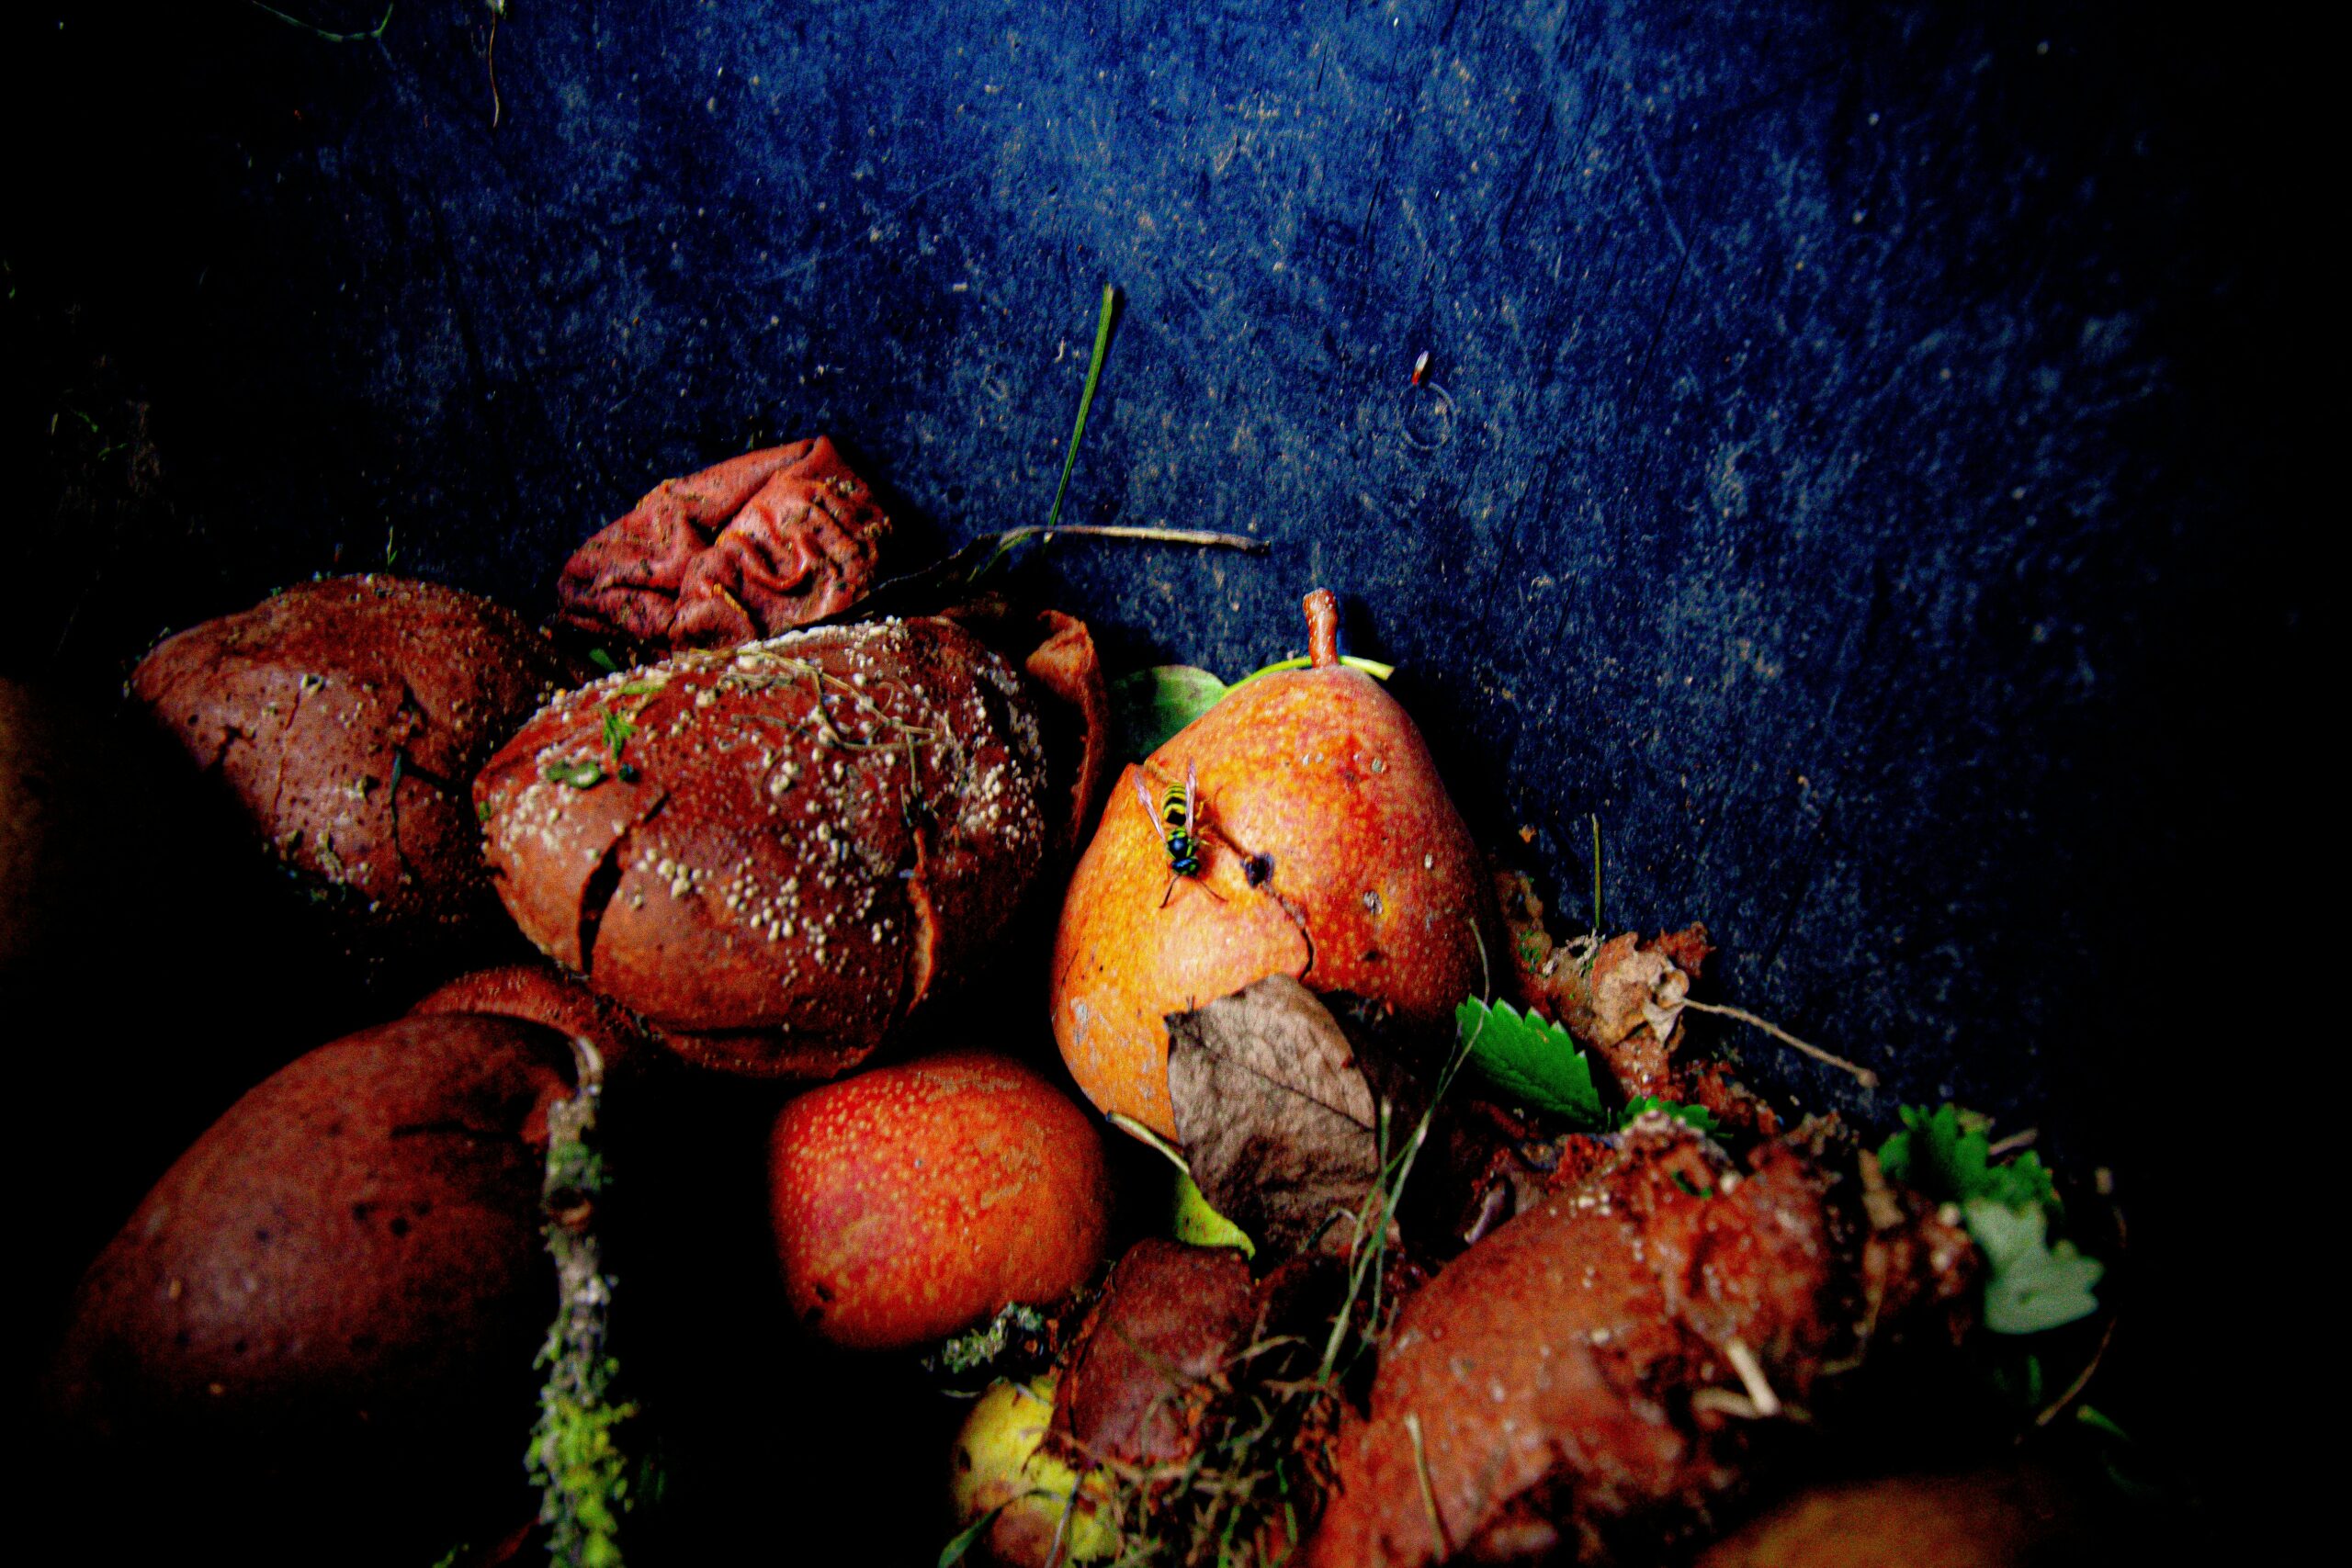
If your pile smells bad or feels slimy, you likely have too many greens — add more browns. If it’s not breaking down and feels dry and inert, you likely have too many browns — add more greens and a bit of water. This ratio is more forgiving than it sounds; most piles self-correct once you adjust the next layer.
Building and Turning Your Compost Pile
Start with a base layer of coarse browns (small twigs or straw) to help with drainage and airflow, then alternate layers of browns and greens as materials become available. A pile at least 3 feet by 3 feet is usually the minimum size needed to generate enough heat to compost efficiently — smaller piles struggle to hold heat, especially in cooler weather.
Turning the pile with a garden fork every 1–2 weeks introduces oxygen, which speeds up decomposition and helps prevent the anaerobic conditions that cause bad smells. Turn from the outside in, moving the drier material from the edges into the hot center, and vice versa.
Moisture matters too — aim for a consistency like a damp sponge. Too dry and decomposition stalls; too wet and you’ll get the same smell and slime problems as too many greens.
How Long Composting Takes
A well-managed, regularly turned hot compost pile can produce finished compost in as little as 2 to 3 months during warm weather. A more relaxed, occasionally-turned pile will typically take 6 months to a year. Cold winter temperatures slow the process down considerably regardless of how well you manage it, since the microbes doing the actual work need warmth to stay active.
You’ll know compost is finished when it looks dark, crumbly, and roughly soil-like, with an earthy smell and no recognizable food scraps left.
Troubleshooting Common Composting Problems
Bad Smell
A rotten-egg or ammonia smell almost always means too much moisture, too many greens, or not enough turning. Add dry browns and turn the pile to introduce oxygen — the smell should improve within a few days.
Pests
Rodents and flies are usually drawn to exposed food scraps, especially meat, dairy, or oily leftovers, which shouldn’t go in an outdoor pile anyway. Always bury fresh greens under a layer of browns rather than leaving them on top, and consider an enclosed bin if pests are a persistent problem in your area.
Pile Not Heating Up
If your pile stays cool no matter what you do, it’s usually too small, too dry, or too low in nitrogen. Increase the pile size, add water, and mix in more greens or a handful of finished compost to reintroduce active microbes.
Choosing a Composting Method
Everything above works with the simplest setup — an open pile in a corner of the yard. But there are a few common ways to contain it, and each fits a different situation:
- Open pile — free, and the easiest to turn with a pitchfork. Best if you have space and don’t mind the look of it.
- Stationary bin — a contained box (wood, wire, or plastic) that keeps things tidier and holds heat a bit better than an open pile. Still requires manual turning.
- Tumbler — an enclosed drum you spin to mix the pile instead of forking it by hand. Faster and less labor, but holds less volume than a bin or pile.
- Trench composting — bury scraps directly in a garden trench and let them break down in place. No turning, no pile at all, but slower and only useful right where you plan to plant.
If your yard is small or you’re dealing with curious dogs or raccoons, a tumbler or enclosed bin is worth the extra cost. If you’ve got the space, an open pile or simple wire bin does the same job for free. If you’d rather buy a ready-made bin than build one, our guide to the best compost bins compares tumblers, stationary bins, and worm bins across a few real products.
What You Can and Can’t Compost
Most kitchen and yard waste is fair game, but a few common items will slow the pile down, attract pests, or introduce pathogens you don’t want anywhere near a vegetable garden.
| Compost freely | Avoid |
|---|---|
| Fruit and vegetable scraps | Meat, fish, and bones |
| Coffee grounds and filters | Dairy products |
| Eggshells (crushed) | Oily or greasy food waste |
| Grass clippings and dry leaves | Pet waste from dogs or cats |
| Shredded plain cardboard and paper | Diseased plants |
| Untreated wood chips and sawdust | Weeds that have already gone to seed |
Meat, dairy, and grease don’t just smell bad as they rot — they attract rats and raccoons and can take far longer to break down safely. Weeds with mature seed heads are a different problem: home compost piles rarely get hot enough, long enough, to kill the seeds, so you can end up spreading weeds right back into your garden along with the finished compost.
Using Your Finished Compost
Finished compost is dark brown to black, crumbly, and smells like fresh earth — not like anything you originally put in the pile. If you can still recognize eggshells, twigs, or corn cobs, give it more time; those larger pieces just sift out and go back into the next batch.
Once it’s ready, work an inch or two into the top layer of garden soil before planting, or use it as a top-dressing around existing plants a couple of times a year. It’s also the main ingredient in homemade fertilizer if you want to combine it with other amendments.
Wrapping Up
Composting for beginners really does come down to browns, greens, air, and moisture. Get that balance roughly right, turn the pile every couple of weeks, and be patient — within a few months you’ll have free, nutrient-rich compost for your garden beds instead of a trash bag full of food scraps.
Frequently Asked Questions about Composting for Beginners
A good starting ratio for beginners is roughly 2 to 3 parts browns (carbon-rich material) for every 1 part greens (nitrogen-rich material), measured by volume.
Turning every 1 to 2 weeks introduces oxygen and speeds up decomposition. Piles that are turned regularly can finish in as little as 2 to 3 months, compared to 6 months or longer for piles left mostly undisturbed.
A bad smell usually means too much moisture, too many greens, or not enough airflow. Add dry browns and turn the pile to fix it within a few days.
Traditional composting uses an outdoor pile of browns and greens and takes a few months to a year. Bokashi composting uses fermentation in a sealed indoor bin and can process kitchen scraps in about 4 weeks, making it a better fit for small spaces.